Make Your Own Organic Plant Fertilizer at Home
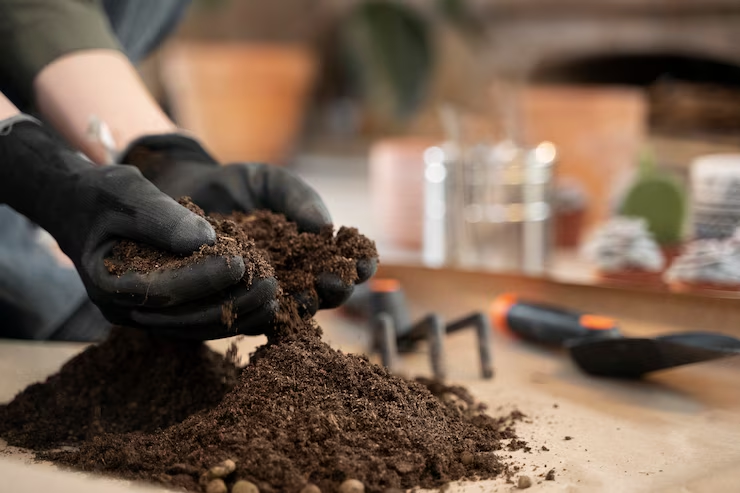
Want to give your plants a boost without relying on chemical fertilizers? Good news — you probably already have everything you need in your kitchen and garden. Homemade organic fertilizers are not only budget-friendly and eco-conscious, but also packed with nutrients your plants will love. In this guide, you’ll learn how to make several easy, … Ler mais