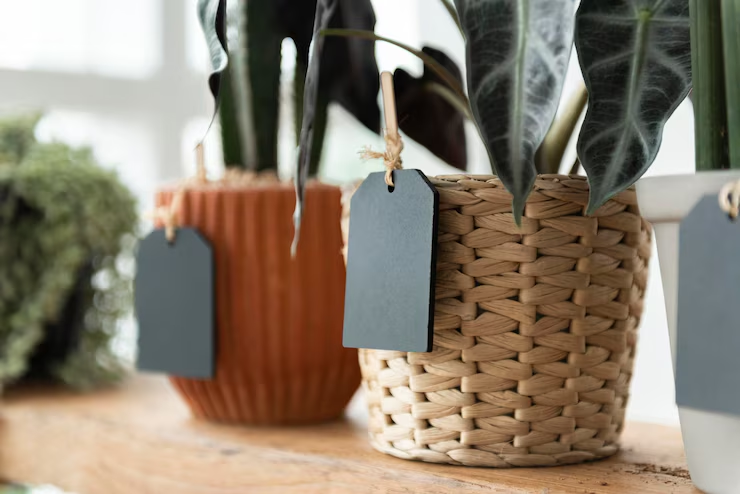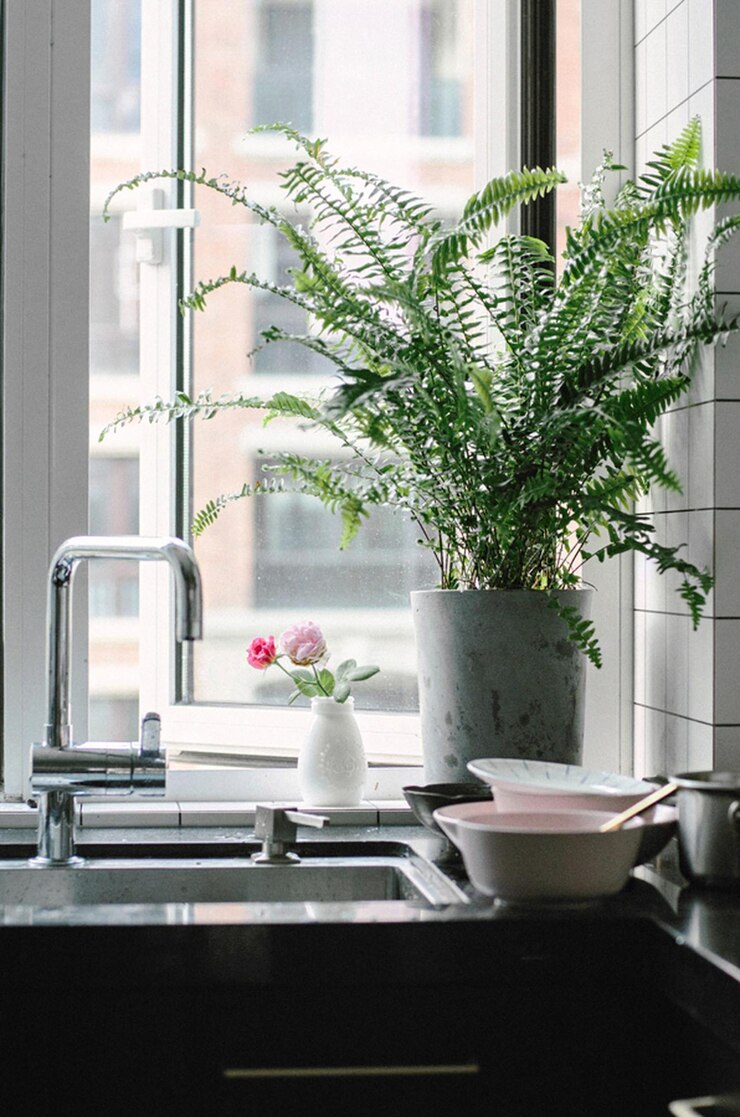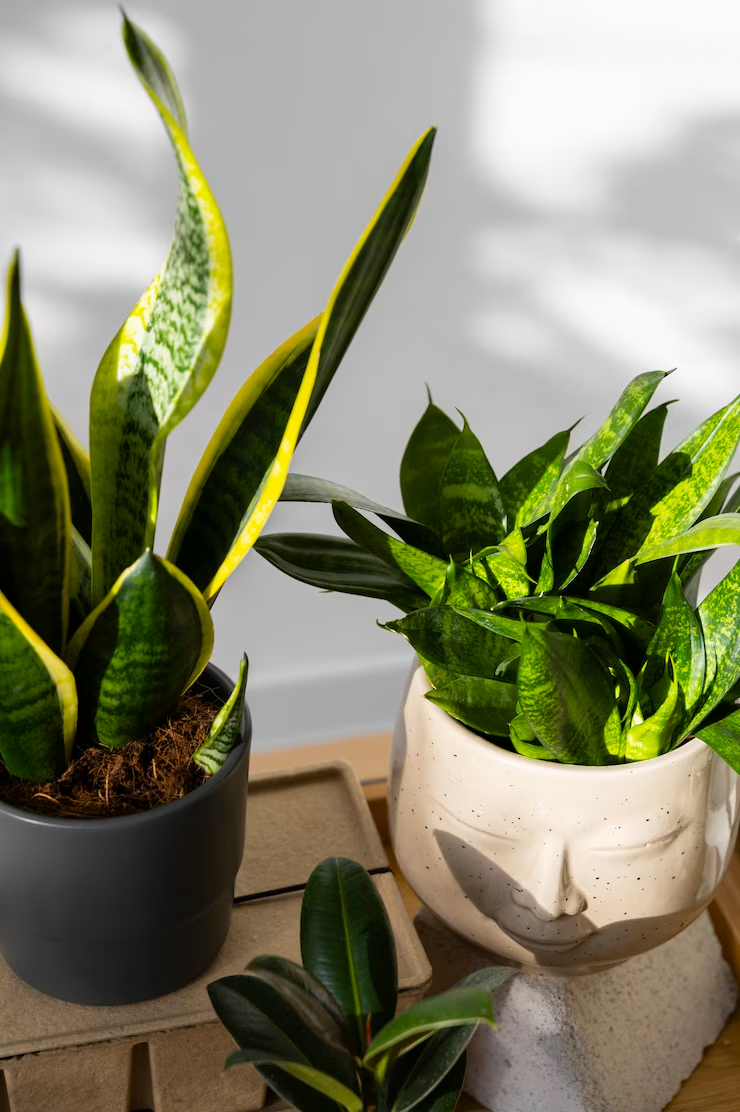
Creative Ways to Display Plants in Small Spaces
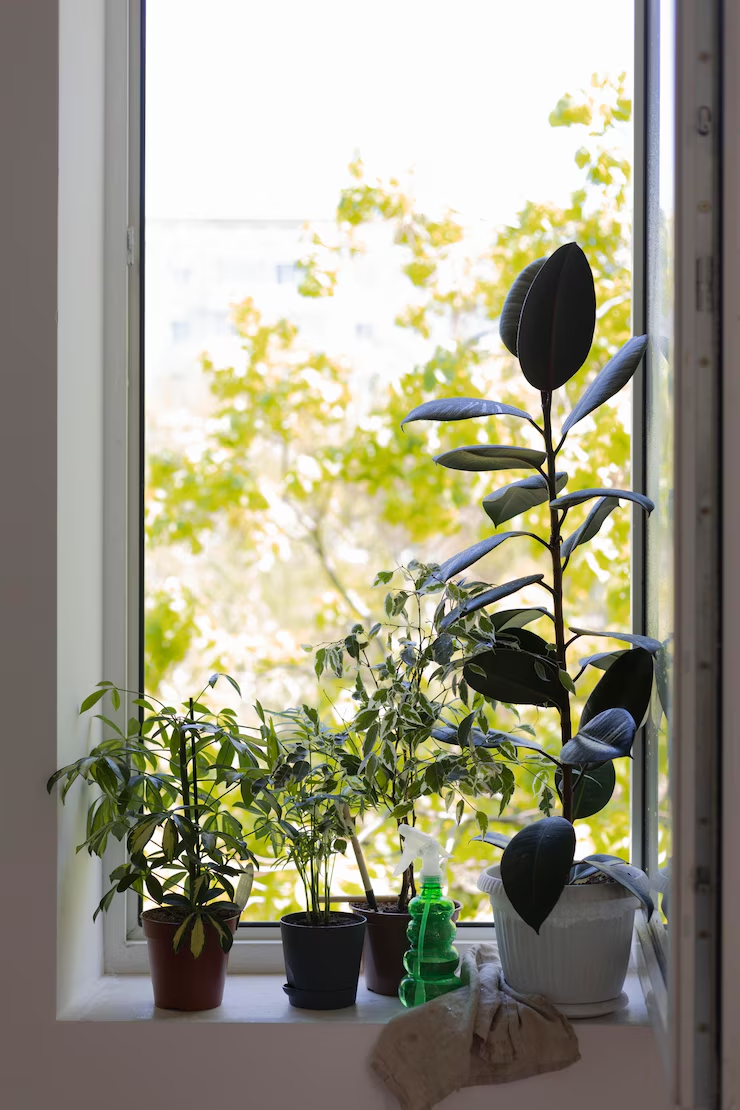
Limited on square footage? That doesn’t mean you have to limit your love for greenery. Whether you live in a cozy apartment, a studio, or just want to avoid clutter, there are countless creative ways to display plants — even when space is tight. In this article, you’ll discover clever tricks and stylish setups to … Ler mais