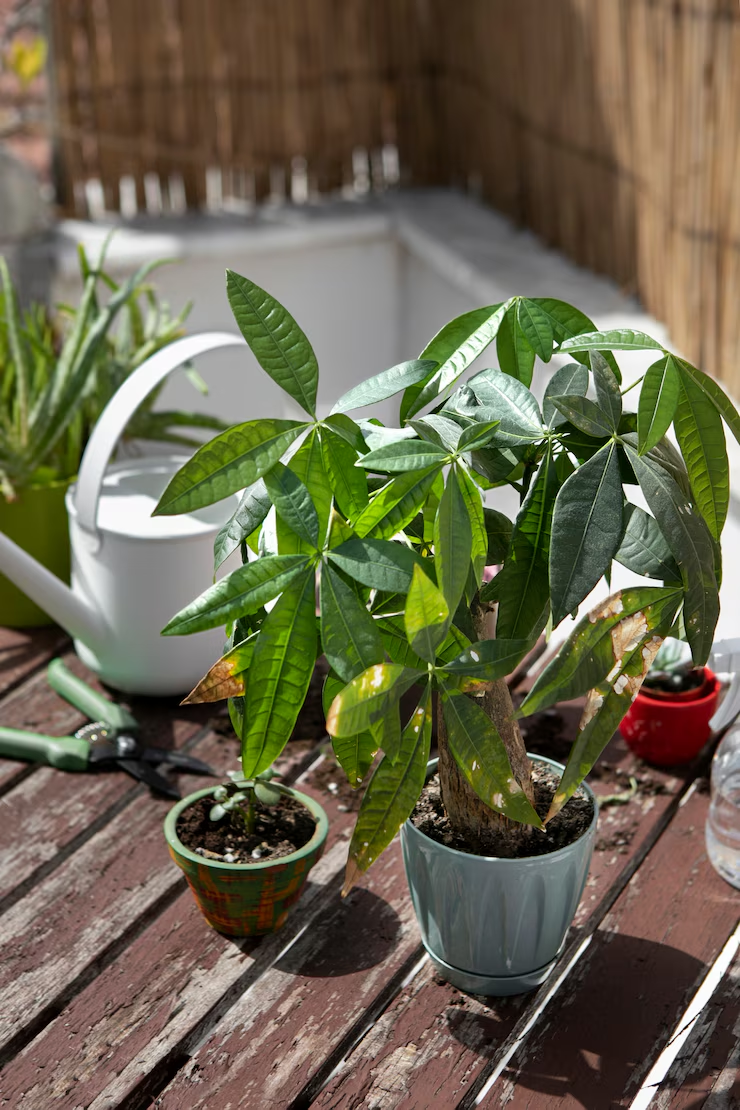
How to Reuse and Recycle Old Plant Pots Creatively

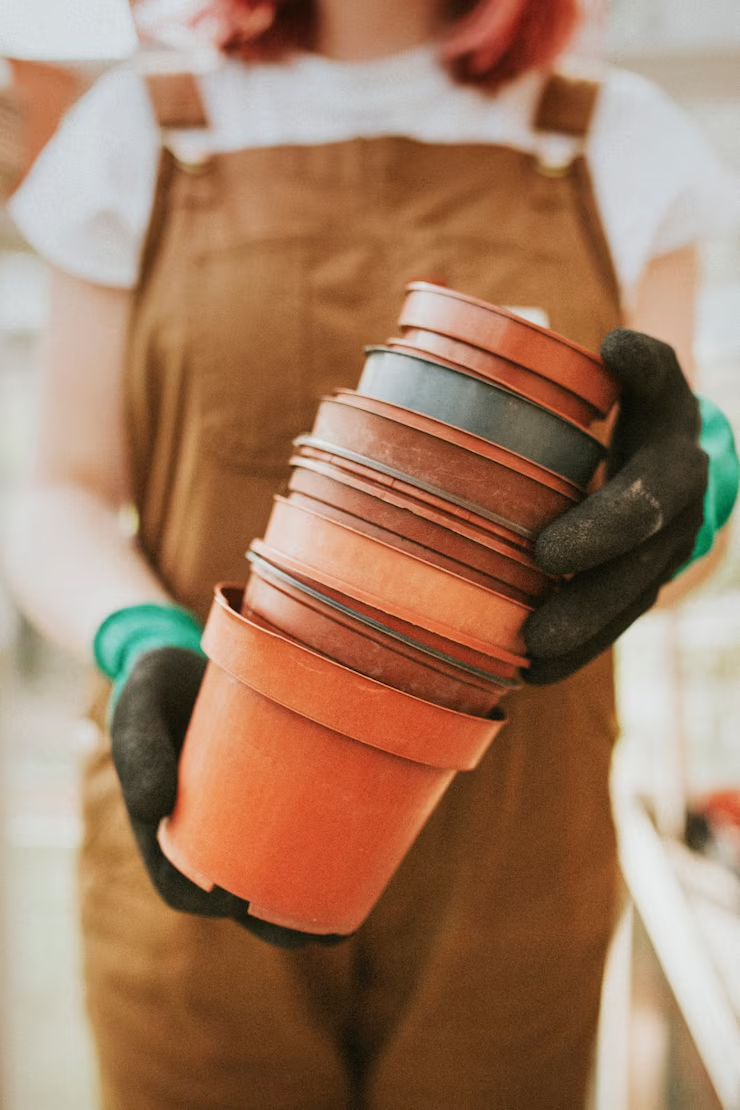
If you’ve been growing plants for a while, chances are you’ve got a pile of old pots lying around — mismatched, cracked, or just unused. Instead of tossing them out, why not repurpose, refresh, or completely reinvent them?

In this guide, you’ll discover creative, sustainable, and fun ways to reuse and recycle old plant pots, whether you want to give them a new look, a new function, or a second life.

Why Reuse Old Pots?

Recycling plant pots isn’t just a fun weekend project — it’s a smart and eco-conscious move.

🌍 Benefits of repurposing:

  • Reduces waste and environmental impact
  • Saves money on new containers
  • Encourages creativity and personalization
  • Helps declutter your garden area or storage closet
  • Adds charm and character to your space

1. Give Pots a Makeover with Paint

Turn plain, faded pots into custom decor pieces with a little color.

What you need:

  • Acrylic paint or chalk paint
  • Paintbrushes or sponges
  • Painter’s tape (for clean lines)
  • Sealant (for outdoor use)

Fun ideas:

  • Geometric patterns
  • Boho tribal designs
  • Dip-dye or ombre effect
  • Minimalist monochrome
  • Botanical or floral hand-painting

Pro Tip: Paint the inside rim only for a color peek that won’t chip with soil contact.

2. Turn Broken Pots into Fairy Gardens or Sculptures

Even cracked pots can become magical and artistic.

Create:

  • Miniature fairy gardens with moss, figurines, and tiny plants
  • Stacked garden towers using broken shards and succulents
  • Mosaic art using chipped pieces for colorful edging or stepping stones

Perfect for patios, porches, or gifting!

3. Upcycle into Home Organizers

Old pots aren’t just for plants. Use them around the house as storage with personality.

Ideas:

  • Pen and pencil holders for your desk
  • Makeup brush holders in the bathroom
  • Utensil jars in the kitchen
  • Craft supply containers
  • Catch-all bowls by the door

Wrap in jute, rope, or fabric for a cozy, finished look.

4. Create a Vertical Garden

Use a mix of small pots to build your own wall or fence-mounted green wall.

How to do it:

  • Use metal hooks, wire racks, or wooden slats to mount
  • Arrange in rows or staggered patterns
  • Fill with herbs, trailing plants, or succulents
  • Paint them for a color-block effect or leave natural for a rustic vibe

Great for balconies, patios, or small-space gardening!

5. Repurpose as Bird Feeders or Baths

Give back to nature by transforming old pots into something birds will love.

How:

  • Fill shallow pots or saucers with water for a birdbath
  • Turn smaller pots upside down, glue a saucer on top = DIY bird feeder
  • Hang with rope or macramé for extra charm

Add pebbles for perching spots and place in quiet, shaded areas.

6. Use for Propagation Stations

Cracked or mismatched pots are perfect for plant babies!

Setup:

  • Fill with water and use them to root pothos, mint, or philodendron cuttings
  • Use small nursery pots to grow starter herbs or veggies
  • Decorate the outside with chalk labels or washi tape to track your cuttings

Perfect for shelves, windowsills, or greenhouse corners.

7. Make a Succulent Centerpiece

Combine several small or oddly shaped pots in a tray or basket for a tabletop garden.

Tips:

  • Choose low-maintenance succulents or air plants
  • Use sand, gravel, or moss for texture
  • Add mini figurines, candles, or crystals
  • Group by color or size for visual harmony

This makes a beautiful, living coffee table display!

8. Donate or Trade with Other Plant Lovers

If you have too many pots, someone else will definitely appreciate them.

Try:

  • Local plant swap groups
  • Community gardens
  • Schools or libraries with plant programs
  • Donation centers or thrift stores

You can also host your own pot swap party — bring old pots, go home with something new!

9. Use as Decorative Pot Covers

Don’t throw out chipped or stained pots — hide them in plain sight!

How:

  • Slip a plastic nursery pot inside
  • Wrap in burlap, cloth, or jute for a natural look
  • Add handles with rope or leather for a basket-style feel

Great for rentals or temporary plant setups.

10. Build a Themed Garden Display

Turn your repurposed pots into part of a larger decor story.

Ideas:

  • Tea Time Garden – Old teacups and teapots as planters
  • Rustic Garden Wall – Mason jars, clay pots, wood crates
  • Color Coded Herb Wall – Paint each pot a different color for each herb
  • Zen Garden Tray – Shallow pots, sand, stones, and air plants

Have fun mixing materials and giving old items a new voice!

Trash to Terracotta Treasure

Old pots don’t have to sit forgotten in a corner — they can become part of your home’s story, personality, and style. Whether you’re going full DIY or just looking for practical reuse, your old containers still have a lot of life left in them.

So grab that dusty pot, your favorite paint color (or plant), and give it a second chance. 🌱🎨♻️

Create a Plant Watering Schedule That Actually Works

Watering your plants sounds easy — until you’re either drowning them or letting them dry into crispy sadness. Every plant has its own needs, and sticking to a one-size-fits-all schedule can do more harm than good.

But don’t worry — creating a personalized, realistic watering routine is completely doable. In this article, you’ll learn how to build a low-stress, plant-friendly watering schedule that helps your green friends thrive (without making you feel like a full-time gardener).

Why Watering Is Tricky (But Important)

Water is life — but too much or too little can quickly cause:

  • 🟡 Yellowing leaves
  • 🔄 Leaf curl or drop
  • 🟤 Root rot or dryness
  • 🐛 Pests like fungus gnats

The right watering routine prevents stress, supports growth, and keeps your plants looking vibrant year-round.

Step 1: Group Plants by Watering Needs

Don’t treat every plant the same. Group them by how often they like to drink.

💧High-Need Plants (Water Weekly or More)

  • Ferns
  • Calatheas
  • Peace Lilies
  • Fittonia
  • Herbs (indoors)

🌿 Medium-Need Plants (Every 7–10 Days)

  • Pothos
  • Philodendron
  • Rubber Plant
  • Fiddle Leaf Fig
  • Spider Plant

🌵 Low-Need Plants (Every 2–4 Weeks)

  • Succulents
  • Cacti
  • Snake Plant
  • ZZ Plant
  • Jade Plant

Tip: Create plant “care zones” in your home based on their needs to simplify your routine.

Step 2: Check Before You Water

Instead of watering on a fixed day no matter what, always check the soil first.

Easy methods:

  • Stick your finger 1–2 inches into the soil. If it’s dry, it’s time to water.
  • Use a moisture meter for more precise readings
  • Watch for clues: drooping, curling, or dry leaves can indicate thirst

If the soil is still moist, wait a day or two — it’s better to underwater than overwater in most cases.

Step 3: Choose the Right Watering Tools

Basic gear to keep handy:

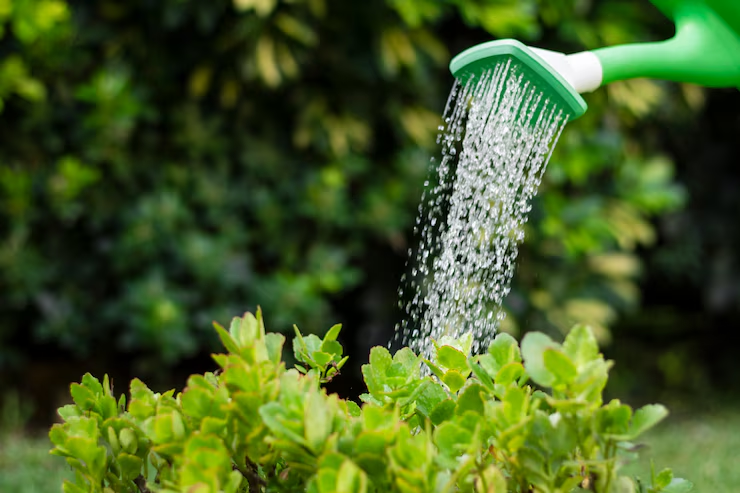
  • A small watering can with a narrow spout
  • A spray bottle for misting humidity-loving plants
  • A moisture meter for consistent checks
  • A catch tray or saucer under every pot

Optional but helpful: A water reminder app like Planta, Greg, or a phone calendar alert.

Step 4: Create a Weekly Watering Plan

Now that you’ve grouped your plants and know how to check them, build a flexible schedule that fits your life.

Example weekly routine:

  • Monday: Check and water tropicals (calathea, peace lily)
  • Thursday: Check medium-needs plants (rubber plant, pothos)
  • Every other Sunday: Check low-needs plants (succulents, snake plant)
  • Daily or every 2 days: Mist humidity-lovers in dry climates

Pro Tip: Create a checklist and keep it near your plants, so you can track who’s been watered and when.

Step 5: Adjust for Seasons

Your plant’s watering needs change throughout the year.

🌞 Spring/Summer:

  • Faster growth
  • Warmer temps
  • More watering needed

❄️ Fall/Winter:

  • Dormant periods
  • Less sunlight
  • Cut watering in half or more

Always use the soil-check rule — never water on autopilot.

Step 6: Use Smart Watering Techniques

It’s not just when you water — it’s how you do it.

Watering do’s:

✅ Water thoroughly until it drains from the bottom
✅ Use room-temperature water
✅ Let excess water drain — never let plants sit in standing water
✅ Water the soil, not the leaves

Watering don’ts:

🚫 Don’t mist succulents or cacti
🚫 Don’t use cold tap water on tropicals
🚫 Don’t “top off” water frequently — this causes salt buildup

Step 7: Track and Tweak

No schedule is perfect from day one — but consistency helps you notice patterns.

Keep a simple watering log:

PlantLast WateredNext CheckNotes
Snake PlantApril 5April 20Soil still damp
PothosApril 8April 14Growing fast — added misting
Peace LilyApril 10April 14Needed more light

Tracking = less guessing = healthier plants.

Make Watering Easy, Not Stressful

You don’t need to memorize a million plant rules — just follow these basics:

  • Group plants by needs
  • Check soil before watering
  • Create a flexible, seasonal routine
  • Adjust and learn over time

Soon, watering will become second nature — a calming habit instead of a chore. And your plants? They’ll thank you with lush leaves, happy blooms, and serious jungle vibes.

Natural Fertilizer Ideas for Indoor Plants

Your indoor plants are living, growing beings — and like all living things, they need nourishment. While synthetic fertilizers are widely available, they often come with harsh chemicals and long-term soil damage. The good news? You can boost your plant’s health with safe, effective, and eco-friendly natural fertilizers using ingredients you probably already have at home.

In this guide, you’ll learn why natural fertilizers are a smart choice, the best DIY options, and how to use them correctly for lush, happy plants.

Why Use Natural Fertilizers?

Natural fertilizers come straight from nature and provide a slow, steady release of nutrients, unlike synthetic versions that can overwhelm plant roots.

Benefits of going natural:

  • 🌱 Gentler on plants and less likely to cause fertilizer burn
  • 🌎 Better for the environment — no chemical runoff
  • 💵 Budget-friendly — most ingredients are already in your kitchen
  • 🪴 Improves soil health over time, not just feeds the plant
  • 💧 Safer for kids and pets

Signs Your Indoor Plants Need Fertilizing

Before you add anything, look for signs that your plants are ready for a nutritional boost:

  • Pale or yellowing leaves
  • Stunted or slow growth
  • Small new leaves
  • Soil that looks depleted or dry despite watering
  • Fewer flowers or leggy stems

If your plant is showing these signs (and it’s not a seasonal dormancy), it might be time to feed naturally.

Best Natural Fertilizer Options for Indoor Plants

1. Banana Peel Water

Banana peels are rich in potassium, phosphorus, and calcium — great for strong root and flower development.

How to use:

  • Chop 1 banana peel and soak it in 2 cups of water for 24–48 hours.
  • Strain and use the water to water your plants once every 2–3 weeks.

Best for: Flowering plants, peace lilies, and monsteras.

2. Coffee Grounds

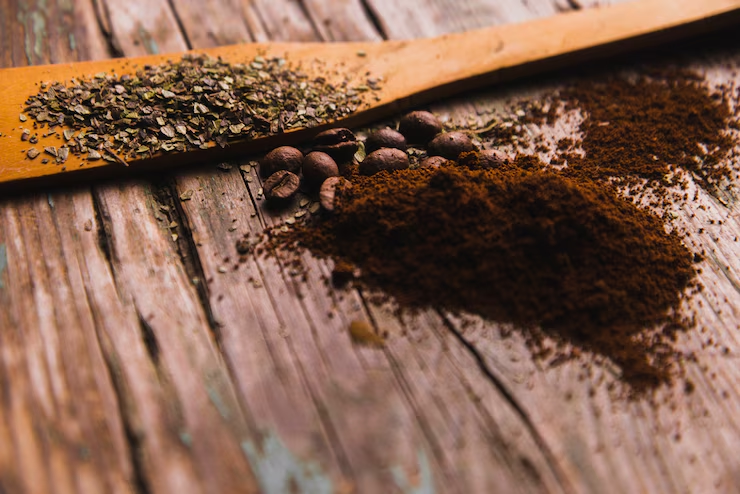
Used coffee grounds are slightly acidic and provide nitrogen, which boosts leafy growth.

How to use:

  • Mix dried grounds into potting soil (1 tbsp per pot).
  • Or brew weak “coffee tea” by soaking grounds in water, then watering your plants with it once a month.

Best for: Ferns, philodendrons, snake plants.

Caution: Don’t overdo it — too much can compact soil or increase acidity.

3. Crushed Eggshells

Eggshells are packed with calcium, which helps strengthen cell walls and prevent diseases like blossom end rot (especially in fruiting plants like tomatoes).

How to use:

  • Rinse and dry shells, then crush into a fine powder.
  • Sprinkle on top of soil or mix into the potting mix.

Best for: Tomatoes, herbs, succulents, pothos.

4. Aquarium Water (Freshwater Only)

If you have a freshwater fish tank, the water contains ammonia, nitrogen, and beneficial microbes from fish waste — a mild, free fertilizer!

How to use:

  • Use it as-is to water your indoor plants during regular tank cleanings.

Best for: Most houseplants — especially leafy greens and herbs.

5. Green Tea Leaves or Tea Bags

Green tea adds tannic acid and small amounts of nitrogen, helping to balance soil pH and encourage growth.

How to use:

  • Brew a weak tea from one used tea bag in 2 cups of water. Let it cool.
  • Use every 2–4 weeks as a watering supplement.

Best for: Ferns, calatheas, spider plants.

6. Vegetable Cooking Water

Don’t toss the water you used to boil veggies — it’s full of trace minerals like magnesium, potassium, and phosphorus.

How to use:

  • Let the water cool completely before using.
  • Use unsalted, unseasoned water only.

Best for: General houseplants and herbs.

7. Molasses

Molasses is a sweet source of potassium, iron, and calcium, and it feeds beneficial microbes in the soil.

How to use:

  • Mix 1 tsp of unsulfured blackstrap molasses into 1 liter of water.
  • Use once a month during the growing season.

Best for: Blooming plants, like African violets or peace lilies.

8. Compost Tea

If you compost, you can create a rich liquid fertilizer by steeping finished compost in water.

How to use:

  • Add a handful of compost to a bucket of water.
  • Let it steep for 1–2 days, then strain and use to water your plants.

Best for: All-purpose houseplant nutrition.

How Often Should You Fertilize?

Indoor plants are more sensitive than garden plants — so less is more!

General guidelines:

  • Growing season (spring and summer): Feed once every 2–4 weeks.
  • Dormant season (fall and winter): Stop or reduce to once every 6–8 weeks.
  • Seedlings and new transplants: Wait a few weeks before feeding.

Tip: Always observe your plant. If it looks healthy, you may not need to feed it as often.

A Few Natural Fertilizer DOs and DON’Ts

DO:

  • Mix well with water when needed
  • Use clean tools and containers
  • Label homemade fertilizers and store properly
  • Start with small amounts to avoid overfeeding
  • Water normally between feedings

DON’T:

  • Use too frequently — even natural fertilizers can build up
  • Apply to dry soil — water first, then feed
  • Use anything spoiled or moldy
  • Fertilize sick or pest-infested plants until they recover

Nourish Naturally, Grow Beautifully

Feeding your indoor plants doesn’t have to mean chemicals and store-bought solutions. With simple, natural ingredients and a little care, you can give your green companions the nutrients they need — while saving money and reducing waste at the same time.

Your plants (and the planet) will thank you. 🌍💚

Air-Purifying Plants That Also Beautify Your Home

Modern life often means spending a lot of time indoors — and that means breathing in indoor air, which can sometimes be more polluted than we realize. Fortunately, nature has a solution. Some plants don’t just add beauty to your space — they actually purify the air, removing toxins and improving the overall environment of your home.

In this article, we’ll explore the best air-purifying plants that are both functional and stylish. You’ll learn which plants to choose, where to place them, and how to care for them so they stay happy and healthy.

Why Air-Purifying Plants Matter

Indoor air pollution can come from common sources like paint, cleaning products, furniture, and even carpets. Substances like formaldehyde, benzene, and xylene are often present in small but harmful amounts. According to NASA’s Clean Air Study, some plants are especially good at filtering these toxins from the air.

Incorporating air-purifying plants into your home isn’t just a wellness trend — it’s a simple and natural way to create a healthier living environment.

1. Snake Plant (Sansevieria trifasciata)

The Sleep-Friendly Air Cleaner

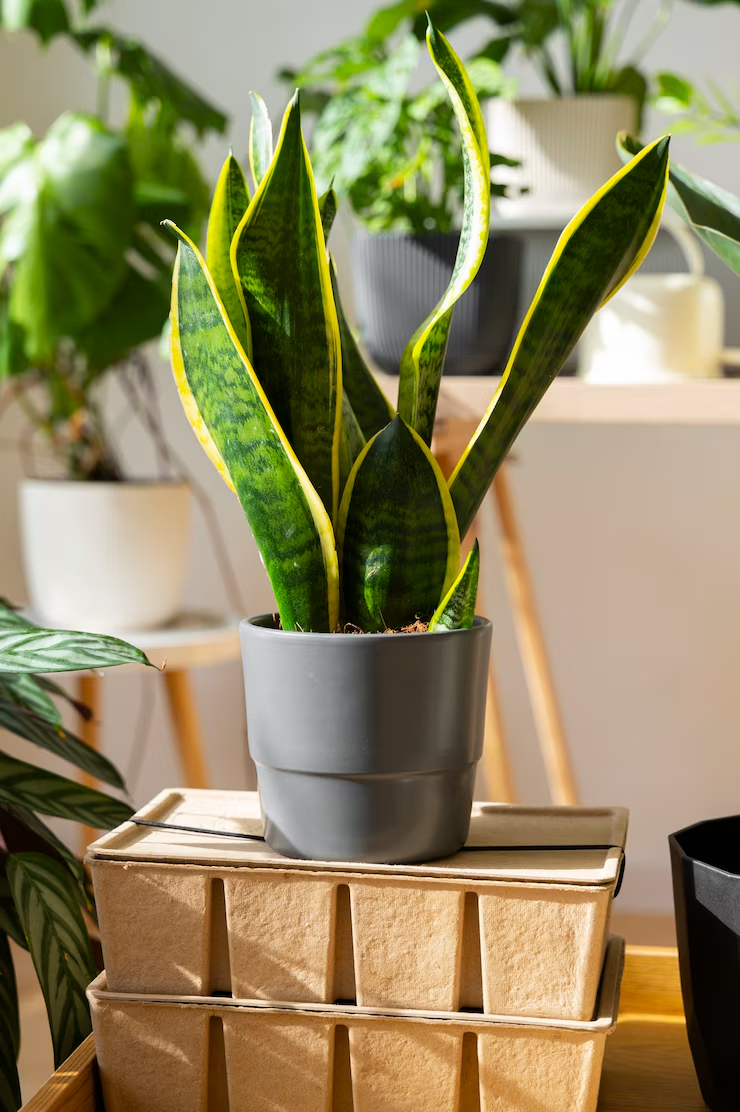
Snake plants are one of the few plants that release oxygen at night, making them perfect for bedrooms. They’re known for filtering formaldehyde, xylene, and toluene from the air.

Care Tips:

  • Light: Low to bright, indirect light
  • Water: Let the soil dry completely before watering
  • Style Tip: Looks great in sleek ceramic pots or standing tall in woven baskets

2. Spider Plant (Chlorophytum comosum)

The Beginner’s Best Friend

Spider plants are easy to grow, adapt well to different environments, and produce cute baby plants (called “pups”) you can replant.

Air benefits: Effective at removing carbon monoxide, formaldehyde, and benzene.

Care Tips:

  • Light: Bright, indirect light
  • Water: Water when the top inch of soil feels dry
  • Style Tip: Great for hanging baskets or placed on shelves for a trailing effect

3. Peace Lily (Spathiphyllum)

The Elegant Detoxer

With its graceful white blooms, the peace lily is both a statement piece and a powerful air purifier.

Air benefits: Filters out ammonia, formaldehyde, benzene, and trichloroethylene.

Care Tips:

  • Light: Low to medium light
  • Water: Keep the soil moist, but not soggy
  • Style Tip: Ideal for minimalist interiors — the white flowers add a clean touch

4. Aloe Vera

Healing and Cleaning in One

Known for its skin-soothing gel, aloe vera is also great at clearing formaldehyde and benzene — chemicals commonly found in household cleaners.

Care Tips:

  • Light: Needs bright, indirect sunlight
  • Water: Let the soil dry completely between waterings
  • Style Tip: Perfect in terracotta pots on a sunny windowsill

5. English Ivy (Hedera helix)

Classic Look, Modern Function

English ivy brings a traditional, English garden vibe into your home. It’s known for filtering airborne mold and fecal particles — making it a solid choice for bathrooms.

Care Tips:

  • Light: Medium to bright, indirect light
  • Water: Keep the soil consistently moist
  • Style Tip: Use in a hanging pot or let it trail down a tall shelf

6. Areca Palm (Dypsis lutescens)

The Tropical Air Purifier

This elegant palm adds a tropical touch to your home and works as a natural humidifier.

Air benefits: Excellent for removing formaldehyde, xylene, and toluene.

Care Tips:

  • Light: Bright, indirect light
  • Water: Water regularly but allow the top of the soil to dry between waterings
  • Style Tip: Makes a bold statement in a large planter by the window

7. Rubber Plant (Ficus elastica)

Bold, Beautiful, and Powerful

With glossy, deep green leaves, the rubber plant is not only eye-catching but also highly efficient at cleaning the air.

Air benefits: Removes toxins like formaldehyde and other volatile organic compounds (VOCs).

Care Tips:

  • Light: Bright, filtered light
  • Water: Allow the top of the soil to dry between waterings
  • Style Tip: Ideal as a floor plant in living rooms and entryways

Where to Place Your Air-Purifying Plants

Strategic placement can enhance both the effectiveness and the aesthetic impact of your plants.

  • Bedroom: Snake plant, peace lily
  • Living Room: Areca palm, rubber plant
  • Bathroom: English ivy, spider plant
  • Kitchen: Aloe vera, spider plant
  • Home Office: Peace lily, rubber plant

Remember to rotate your plants every few weeks so that all sides receive equal light, and wipe the leaves with a damp cloth to keep them dust-free (this helps them “breathe” better).

Styling Tips for a Cleaner, Greener Home

Want your air-purifying plants to look as good as they function? Try these ideas:

  • Mix plant heights for a dynamic look
  • Use matching pots to create a clean, uniform style
  • Play with textures — pair glossy leaves with rustic pots
  • Group plants in odd numbers for better visual balance
  • Add plant stands to bring greenery up to eye level

A Breath of Fresh Air — Literally

Bringing plants into your home is one of the simplest ways to enhance indoor air quality while elevating your interior style. From the sculptural rubber plant to the laid-back spider plant, there’s a perfect option for every room and personality.

So take a deep breath, pick your favorite green friends, and let your home come to life with beauty and clean air.

Sustainable Gardening: Tips for Reducing Environmental Impact


Gardening is much more than a leisure activity or a way to beautify spaces. It represents a direct connection with nature and an opportunity to contribute to the planet’s health. However, traditional gardening practices often involve excessive use of natural resources, such as water, energy, and chemicals that can harm the environment.

With growing concerns about climate change and environmental degradation, transitioning to more sustainable gardening has become not just a choice but a necessity. Sustainable gardening offers creative and effective solutions to reduce environmental impact, conserve resources, and promote biodiversity.

In this article, we will explore how you can adopt eco-friendly practices in your garden, from plant selection to water and soil management. Discover how small changes can make a big difference, creating a greener, healthier, and more sustainable space.

Understanding the Environmental Impact of Conventional Gardening


Gardening, often seen as a harmless and relaxing activity, can have significant environmental impacts if not done consciously. Overuse of water, chemical fertilizers, and pesticides can harm soil health, pollute groundwater, and affect local biodiversity.

A study from the University of Michigan highlighted that chemicals used in home gardens are among the leading sources of non-point pollution in urban areas, directly impacting aquatic ecosystems. Moreover, practices such as removing organic waste entirely and using non-native species can disrupt ecosystems, hindering the natural regeneration of local fauna and flora.

Understanding these impacts makes it evident that a paradigm shift is needed in how we manage our green spaces. An informed and conscious approach can transform gardens into allies in environmental preservation rather than contributors to its degradation. Each garden choice has consequences, and opting for sustainable practices—like resource-conscious use and organic methods—not only reduces environmental impact but also promotes a healthier and more balanced garden.

Choosing Native and Resilient Plants


One of the most effective ways to minimize gardening’s environmental impact is by cultivating native and resilient plants. Native plants are naturally adapted to the region’s climate and soil conditions, requiring less water, fertilizers, and special care.

Additionally, they play a crucial role in preserving biodiversity, providing food and shelter for insects, birds, and other local animals. For instance, planting species like ipê, jabuticaba trees, or bromeliads in Brazil not only enhances your garden’s beauty but also strengthens the natural food chain.

Drought-resistant plants, such as succulents and cacti, are excellent choices for arid regions or areas with water restrictions. These species require less maintenance, making them perfect for creating a sustainable and visually appealing garden.

By diversifying plant selection, you create an environment more resilient to climate changes and less vulnerable to pests. This plant diversity contributes to a more balanced and sustainable ecosystem while reducing the need for constant human intervention.

Efficient Water Management


Water is a precious resource, and sustainable gardening seeks ways to use it responsibly. One efficient technique is rainwater harvesting, which can be stored in cisterns or reservoirs for later use in garden irrigation.

Drip irrigation is another method that delivers water directly to plant roots, reducing waste through evaporation. Organic mulches, like straw or bark, help retain soil moisture, reducing the need for frequent watering.

The timing of watering also matters. Watering early in the morning or late in the afternoon reduces evaporation, ensuring plants make the most of the water.

Additionally, prioritizing plants with low water requirements can lead to significant long-term water savings. Designing a garden based on water efficiency not only reduces consumption but also fosters a harmonious relationship with natural resources.

Composting: Turning Organic Waste into Natural Fertilizers


Composting is a sustainable practice that turns food scraps, dry leaves, and other organic waste into nutrient-rich fertilizer. This process reduces landfill waste and decreases reliance on chemical fertilizers that can harm soil health and water quality.

To start composting at home, you can use simple containers like plastic bins or barrels to mix green waste (fruit and vegetable scraps) with brown waste (dry leaves, branches). In a few weeks, you’ll have natural fertilizer to enrich your soil.

In addition to being cost-effective, composting recycles nutrients, returning essential elements to the soil for healthy plant growth. This practice strengthens the natural cycle and reduces the need for external inputs, creating a more self-sufficient garden.

Promoting Biodiversity in the Garden


A sustainable garden welcomes biodiversity. Planting a variety of flowers that bloom at different times of the year attracts pollinators like bees and butterflies, while trees and shrubs provide shelter for birds and small mammals.

Including a small pond or water feature can create a habitat for frogs, dragonflies, and other organisms that help maintain the garden’s natural balance. Even in smaller spaces, you can create wildlife-friendly environments by using plants and elements that mimic natural habitats.

Promoting biodiversity also enriches the sensory experience of the garden, making it a vibrant and dynamic space. Each species added contributes to a more resilient and interconnected ecosystem, benefiting both nature and the humans who enjoy it.

Reducing the Use of Chemicals


The use of chemical pesticides and herbicides is harmful to the environment, contaminating soil, water, and even the food you grow. Natural alternatives, such as planting repellent plants (e.g., citronella against mosquitoes) and introducing natural predators (e.g., ladybugs to control aphids), effectively protect your garden without harming the ecosystem.

Crop rotation and companion planting (plants that benefit each other when grown together) are also smart strategies to sustainably prevent pests and diseases.

While these practices require more planning, the long-term benefits outweigh the initial challenges. You not only protect the environment but also promote healthier, safer cultivation free from harmful contaminants.

Investing in Sustainable Tools and Materials


Even gardening tools and materials can impact the environment. Whenever possible, choose manual tools instead of electric or fuel-powered ones, which emit greenhouse gases.

Reusing materials is another tip. Old tires can be transformed into creative pots, and recycled wood can be used to build raised garden beds. These practices reduce waste while fostering creativity and environmental responsibility.

Investing in high-quality, long-lasting tools also reduces the need for frequent replacements, minimizing consumption and waste. Small actions like these contribute significantly to building a truly sustainable gardening practice.

Cultivating Change: A Call to Sustainable Gardening”

Sustainable gardening is not just a trend but a meaningful way to align our actions with the needs of our planet. From understanding the environmental impact of traditional gardening practices to adopting water-efficient methods, composting, and promoting biodiversity, this approach transforms gardens into thriving ecosystems that benefit both nature and people.

By choosing native and resilient plants, reducing the use of harmful chemicals, and investing in sustainable tools and materials, we can minimize our ecological footprint and create spaces that are both beautiful and responsible. These small, intentional changes have the power to create a ripple effect, inspiring others and contributing to a healthier environment.

Now is the time to act. Whether you’re an experienced gardener or just starting out, your garden can become a powerful example of sustainability and stewardship. Take the first step today—your actions not only nurture your garden but also cultivate a brighter, greener future for all.