Creative Plant Label Ideas That Are Functional and Stylish
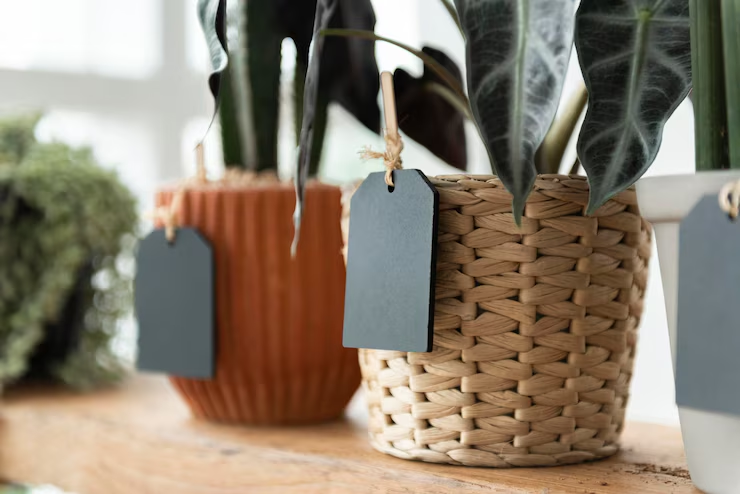
Whether you’re caring for five plants or fifty, plant labels are a game-changer. They help you keep track of species, watering needs, and propagation dates — especially if you’ve got a mix of herbs, houseplants, or baby cuttings. But functional doesn’t mean boring. In this guide, you’ll discover fun, easy, and aesthetic plant labeling ideas … Ler mais