A Complete Guide to Growing Basil on Your Windowsill

Basil is one of the most popular and versatile herbs to grow at home. Its fresh, aromatic leaves elevate countless dishes, from pasta and pizza to salads and sauces. Fortunately, basil is also one of the easiest herbs to grow indoors—especially on a sunny windowsill. Whether you’re new to gardening or simply want fresh basil year-round, this guide will walk you through everything you need to know.

Why Basil Is a Great Indoor Herb

There are several reasons basil is ideal for windowsill gardening:

  • Compact growth: Doesn’t need much space
  • Quick harvest: Grows fast and keeps producing
  • Flavorful and aromatic: Used in a wide variety of cuisines
  • Easy to propagate: Can grow more plants from cuttings

With just a little care, you can have a thriving basil plant within weeks.

Choosing the Right Type of Basil

There are many varieties of basil, but not all are ideal for indoor gardening. The best types for windowsill growing include:

  • Genovese Basil: Classic sweet basil with large, aromatic leaves
  • Greek Basil: Compact plant with small leaves and a spicy flavor
  • Thai Basil: Distinct licorice flavor, great for Asian dishes
  • Purple Basil: Decorative with a mild flavor and beautiful color

Choose based on your cooking needs and the space available on your windowsill.

Light Requirements

Basil is a sun-loving herb and requires at least 6 hours of direct sunlight per day. A south-facing window is ideal. If your window doesn’t get enough light, consider supplementing with a LED grow light to avoid leggy growth and weak stems.

To help your plant grow evenly, rotate the pot every few days so all sides receive equal light exposure.

Pot and Soil Recommendations

Use a pot with drainage holes to prevent water from accumulating and causing root rot. Terracotta pots are a popular choice as they absorb moisture and help regulate soil dampness.

For soil, choose a well-draining potting mix, ideally one designed for herbs or vegetables. You can also mix:

  • 2 parts potting soil
  • 1 part perlite or coarse sand
  • 1 part compost (optional, for nutrients)

This mixture allows for airflow and prevents soggy roots.

Planting Basil Seeds or Seedlings

You can start basil from seeds or buy young plants. Here’s how to do both:

From Seeds:

  1. Fill your pot with moist potting mix.
  2. Sprinkle basil seeds on top and lightly cover with soil.
  3. Keep the soil moist (not soaked) and cover with plastic wrap to trap humidity.
  4. Seeds should sprout within 5–10 days.

From Seedlings:

  • Transplant them gently into a pot, making sure not to damage the roots.
  • Water immediately after transplanting.
  • Keep in indirect light for the first 24 hours before moving to a sunnier location.

Watering Tips

Basil likes moist—but not wet—soil. Here are the golden rules:

  • Water when the top inch of soil feels dry.
  • Avoid getting the leaves wet, especially if growing in a humid room.
  • Do not let water sit in the saucer, as this causes root rot.

Basil also benefits from consistent watering. Sudden droughts can cause the leaves to wilt and turn bitter.

Feeding and Fertilizing

Basil isn’t a heavy feeder, but a little fertilizer helps it stay productive:

  • Use a liquid organic fertilizer every 3–4 weeks.
  • Avoid over-fertilizing, which can lead to lush but flavorless leaves.

If using compost-rich soil, you might not need additional fertilization.

Harvesting Your Basil

Harvesting basil not only provides fresh leaves but also encourages the plant to grow more.

  • Start harvesting once the plant has at least 6 sets of leaves.
  • Always cut above a pair of leaves, not too close to the base.
  • Pinch off flower buds as soon as they appear to maintain leaf production.

Frequent harvesting prevents your plant from becoming tall and leggy.

Pruning and Maintenance

Proper pruning keeps basil bushy and productive. Every couple of weeks:

  • Trim the top stems to encourage side shoots.
  • Remove yellowing or damaged leaves.
  • Keep the plant from flowering unless you’re saving seeds.

Regular maintenance extends your plant’s life and leaf output.

Common Issues and Solutions

  • Leggy stems: Not enough light. Move closer to the window or use a grow light.
  • Yellow leaves: Overwatering or poor drainage.
  • Black spots: Could indicate fungal issues. Increase airflow and avoid wetting leaves.
  • Pests (aphids, whiteflies): Use neem oil or insecticidal soap.

Most problems are preventable with good care habits.

Propagating More Basil

You can grow new basil plants from cuttings:

  1. Cut a 4-inch stem below a leaf node.
  2. Remove the bottom leaves.
  3. Place the stem in water near sunlight.
  4. Wait 1–2 weeks for roots to form.

The Best Herbs for Beginners to Grow Indoors

Starting an indoor herb garden is a fun and practical way to add greenery and fresh flavors to your kitchen. For beginners, growing herbs indoors is an excellent entry into gardening—less messy, easier to manage, and accessible even in small spaces. This guide explores the best herbs to grow indoors, how to care for them, and why they’re ideal for novice gardeners.

Why Choose Indoor Herb Gardening?

Indoor herb gardening comes with several advantages:

  • Convenience: Herbs are within reach when cooking.
  • Climate Control: No need to worry about frost or harsh sun.
  • Pest Management: Fewer insects indoors than outdoors.
  • Compact Spaces: Perfect for apartments or homes without gardens.

The key to success is choosing the right herbs—ones that thrive with less light, limited space, and average indoor conditions.

What Makes a Herb “Beginner-Friendly”?

Some herbs are more forgiving than others. The best herbs for beginners usually share these characteristics:

  • Tolerant of partial sunlight
  • Not too sensitive to inconsistent watering
  • Able to grow well in containers
  • Quick to show visible progress
  • Resistant to most pests

Here are the top herbs that meet these criteria and are perfect for growing on a windowsill or countertop.

1. Basil

Why It’s Great:

  • Fast-growing
  • Perfect for Italian dishes and salads
  • Available in varieties like sweet basil, Thai basil, and purple basil

Care Tips:

  • Needs 6 hours of sunlight per day
  • Keep soil moist but not soggy
  • Pinch off flowers to encourage leaf growth

2. Mint

Why It’s Great:

  • Very easy to grow and hard to kill
  • Freshens up tea, cocktails, and desserts

Care Tips:

  • Prefers indirect light
  • Keep soil consistently moist
  • Grow in a pot by itself—mint spreads aggressively

3. Parsley

Why It’s Great:

  • Versatile in many cuisines
  • Adds freshness to almost any savory dish

Care Tips:

  • Needs moderate sunlight (4–6 hours)
  • Water regularly, but allow the soil to slightly dry between waterings
  • Harvest from the outer stems first

4. Chives

Why It’s Great:

  • Mild onion flavor
  • Comes back quickly after harvesting

Care Tips:

  • Grows well in small pots
  • Requires moderate light and moisture
  • Trim regularly to keep them from flowering

5. Thyme

Why It’s Great:

  • Aromatic and widely used in cooking
  • Low-maintenance

Care Tips:

  • Prefers full sunlight but tolerates partial shade
  • Let soil dry slightly between waterings
  • Avoid overwatering to prevent root rot

6. Oregano

Why It’s Great:

  • Classic herb for pizza and Mediterranean dishes
  • Tolerates dryness well

Care Tips:

  • Needs lots of sunlight (ideally a south-facing window)
  • Water only when the top inch of soil is dry
  • Prune to prevent legginess

7. Rosemary

Why It’s Great:

  • Strong, pine-like scent
  • Long-lasting and hardy

Care Tips:

  • Needs bright light, ideally 6–8 hours per day
  • Allow the soil to dry out between waterings
  • Do not over-fertilize; it prefers slightly poor soil

Containers and Potting Soil

When growing herbs indoors, choose small to medium-sized pots with good drainage holes. The containers should allow air circulation and prevent waterlogging.

Use a lightweight potting mix, preferably one labeled for indoor or container plants. You can mix in a bit of sand or perlite to improve drainage.

Light and Temperature Needs

Most herbs need at least 4–6 hours of light per day. A sunny windowsill is best. If that’s not available, invest in a LED grow light.

  • Ideal indoor temperature: 65–75°F (18–24°C)
  • Avoid placing herbs near drafts or heaters
  • Rotate plants occasionally for even growth

Watering Tips

A common mistake is overwatering. Here’s how to do it right:

  • Stick your finger into the soil—if the top inch is dry, it’s time to water.
  • Use room-temperature water to avoid shocking the plant.
  • Drain excess water to prevent root rot.

Self-watering pots or a watering schedule can help keep things balanced.

Harvesting and Using Your Herbs

Once your herbs are established, harvesting helps them grow bushier and healthier. Follow these tips:

  • Always cut above a set of leaves
  • Don’t harvest more than ⅓ of the plant at once
  • Use herbs fresh, or dry/freeze them for later use

Freshly harvested herbs taste better and have more aroma than store-bought versions.

Troubleshooting Common Problems

  • Leggy growth: Needs more light
  • Yellowing leaves: Likely overwatered
  • Mold on soil: Too much moisture or poor airflow
  • Brown tips: Can be caused by dry air or salt buildup

Act quickly when you spot issues—most problems are easy to reverse when caught early.

Enjoying the Fruits of Your Indoor Garden

Once your indoor herb garden is up and running, you’ll enjoy fresh flavors and natural remedies at your fingertips. There’s something deeply satisfying about snipping a few leaves for a fresh dish or herbal tea. Plus, the act of gardening—yes, even indoors—can reduce stress and boost mental wellness.

If you’re new to gardening, starting with herbs is a low-risk, high-reward decision. Your windowsill might just become your favorite place in the house.

How to Start a Medicinal Herb Garden at Home

Growing medicinal herbs at home is a rewarding, sustainable, and often healing practice. Not only do these plants offer natural remedies for minor ailments, but they also add fragrance and beauty to your living space. Whether you live in an apartment or a house with a backyard, you can start your own herbal medicine garden with minimal effort. This guide will show you exactly how.

Why Grow Medicinal Herbs at Home?

Medicinal herbs have been used for thousands of years to promote wellness and treat everyday conditions. Today, many people are turning back to natural remedies for things like stress relief, digestion, and minor wounds. Growing your own herbs puts those remedies at your fingertips. Plus, you’ll know exactly how they were grown—without pesticides or harmful chemicals.

Choosing the Right Location

The first step to growing medicinal herbs is choosing the best location in your home. Most herbs prefer:

  • Plenty of sunlight: At least 6–8 hours of direct sunlight per day.
  • Good airflow: To prevent mold and mildew.
  • Easy access to water: Especially if you’re using pots or containers.

Ideal spots include sunny windowsills, balconies, patios, or a section of your garden that gets consistent sun.

Best Medicinal Herbs for Beginners

If you’re just getting started, it’s best to grow herbs that are both useful and easy to maintain. Here are some beginner-friendly medicinal herbs:

  • Aloe Vera: Great for burns, skin irritation, and hydration.
  • Chamomile: Known for its calming effects; perfect for tea.
  • Peppermint: Soothes digestion and headaches.
  • Lavender: Helps with anxiety, sleep, and minor cuts.
  • Lemon Balm: A mood enhancer and mild sedative.
  • Echinacea: Boosts the immune system and fights colds.

These herbs thrive in containers and adapt well to indoor or outdoor environments.

Starting from Seeds or Buying Seedlings?

You can start herbs from seeds or buy seedlings (young plants) from a nursery or garden center. Here’s a quick comparison:

  • Seeds: Cost-effective, wide variety available, but require patience and consistent care.
  • Seedlings: More expensive, but you get a head start and faster results.

If you’re a beginner, starting with seedlings can be easier and less frustrating.

Containers and Soil

Herbs grow well in containers, making them perfect for apartments or balconies. Use containers with drainage holes and opt for a well-draining potting mix. Herbs don’t like soggy soil, so avoid heavy garden soil or soil that holds too much moisture.

You can also mix your own potting blend:

  • 2 parts potting soil
  • 1 part compost
  • 1 part perlite or coarse sand

This mix ensures good drainage and nutrient availability.

Watering and Light Requirements

Each herb has its own needs, but here are some general rules:

  • Watering: Let the top inch of soil dry before watering again. Overwatering is a common mistake.
  • Light: Place your plants in a spot where they get 6–8 hours of sunlight. If sunlight is limited, consider using a grow light.

Harvesting Medicinal Herbs

Harvesting should be done carefully to ensure the plant continues to thrive.

  • Use clean scissors or pruning shears.
  • Harvest in the morning when oils are most concentrated.
  • Never cut more than one-third of the plant at a time.

Frequent harvesting encourages more growth and keeps the herbs from going to seed too early.

Common Problems and How to Fix Them

Even experienced growers face issues from time to time. Here are some common problems and solutions:

  • Yellow leaves: Usually caused by overwatering or poor drainage.
  • Wilting: Often a sign of underwatering or root rot.
  • No growth: May need more light or nutrients.
  • Pests: Use natural deterrents like neem oil or insecticidal soap.

Always inspect your plants regularly to catch issues early.

How to Use Your Medicinal Herbs

Once harvested, your herbs can be used in a variety of ways:

  • Teas: Chamomile, peppermint, and lemon balm are perfect for infusions.
  • Salves and creams: Aloe vera and lavender are commonly used for skin relief.
  • Tinctures: Concentrated herbal extracts for stronger medicinal effects.
  • Drying: Air dry herbs for long-term storage and future use.

Make sure to research dosages and applications for each herb before use. Just because something is natural doesn’t mean it’s risk-free.

A Garden That Heals

Creating your own medicinal herb garden is more than just a hobby—it’s a lifestyle. You gain control over what you put into your body, save money on herbal products, and build a stronger connection to nature. Whether you’re using a windowsill or a full backyard, growing healing herbs at home is a powerful step toward better health and sustainability.

How to Grow and Care for Indoor Herbs Year-Round

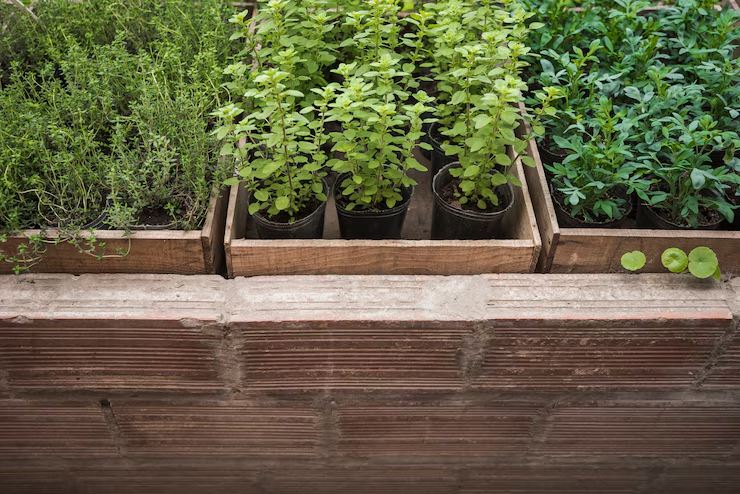
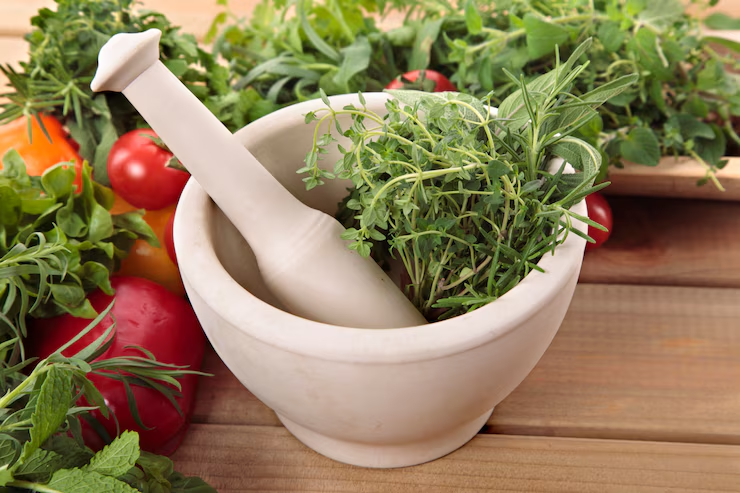
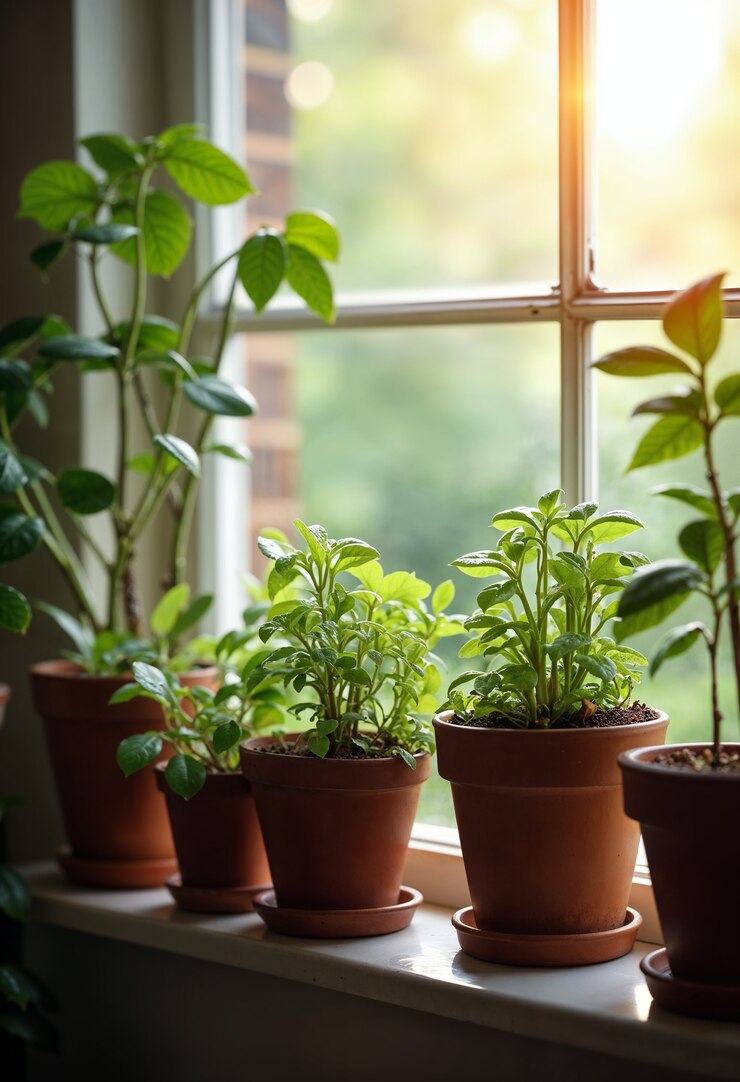
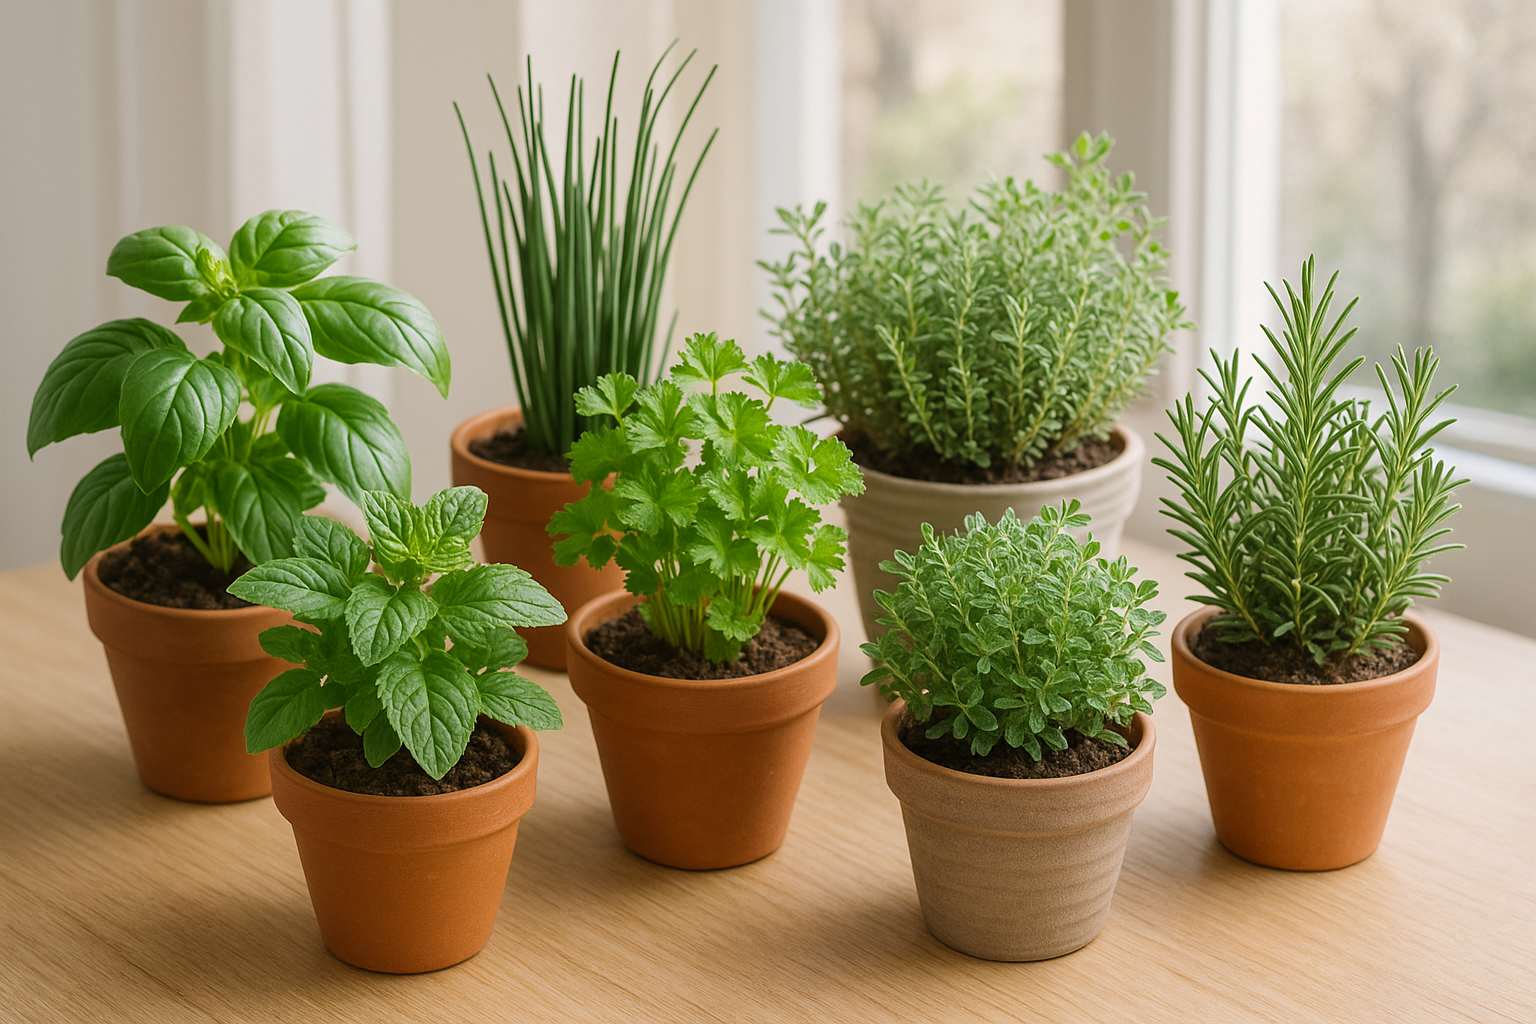
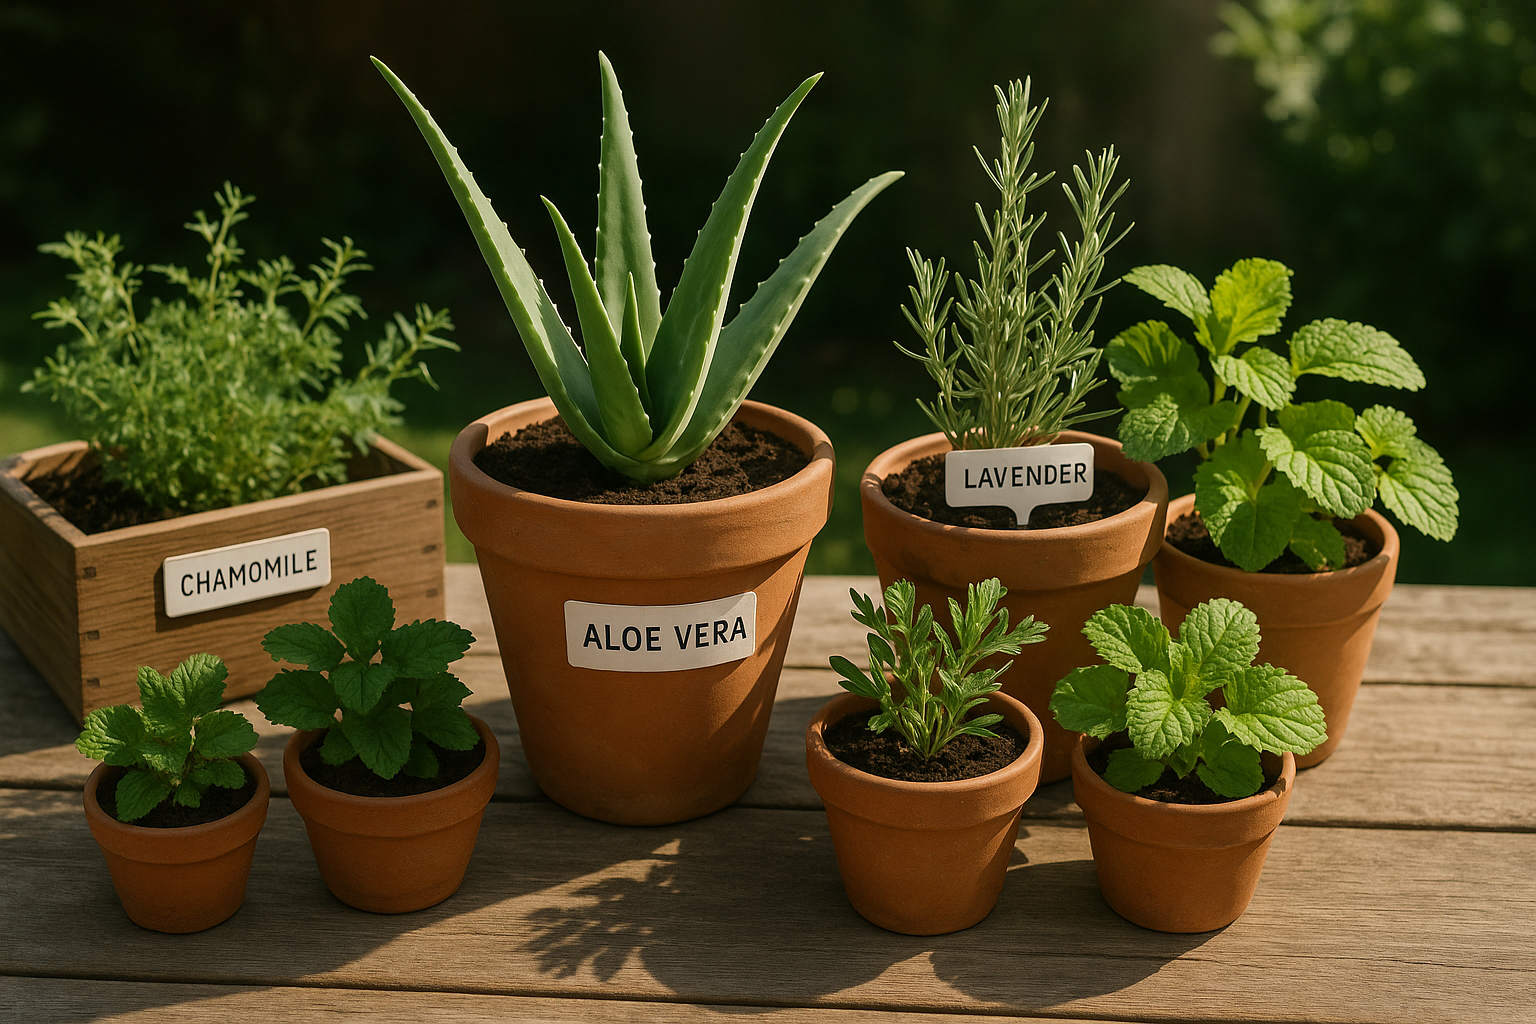
There’s something incredibly satisfying about snipping a few fresh basil leaves for your pasta or mint for your tea — especially when they come from your own windowsill. Indoor herb gardening is one of the most rewarding (and delicious) ways to enjoy plants at home.

The best part? You don’t need a backyard or fancy setup. With the right herbs, containers, and care, you can grow your own mini herb garden year-round, no matter where you live.

Why Grow Herbs Indoors?

Growing herbs inside isn’t just practical — it’s a lifestyle upgrade. Here’s why:

  • 🌱 Fresh flavor on demand
  • 🪴 Compact and space-saving
  • 🧘‍♀️ Therapeutic and rewarding
  • 💵 Budget-friendly (no more buying wilted bunches)
  • 🌿 Beautifies your space with natural fragrance and greenery

And with the right routine, your herbs can thrive all year, even through winter.

Step 1: Choose the Right Herbs for Indoors

Some herbs are better suited for indoor environments than others.

🌿 Easiest herbs to grow indoors:

  • Basil – Loves warmth and light; great in bright kitchens
  • Mint – Hardy and fast-growing (keep it in its own pot — it spreads!)
  • Parsley – Slow grower, but very rewarding
  • Chives – Mild onion flavor; easy and compact
  • Oregano – Great for Mediterranean dishes; loves sun
  • Thyme – Low-maintenance and flavorful
  • Cilantro – Needs cooler temps; best in spring and fall indoors
  • Rosemary – Woody herb that prefers bright light and drier soil

Pro Tip: Start with 3–5 herbs you use often — you can always expand later!

Step 2: Pick the Perfect Spot

Your herbs need light — lots of it.

🪟 Best placement:

  • South-facing window: Ideal for sun-loving herbs like basil and rosemary
  • East- or west-facing: Works well for parsley, mint, and chives
  • Under a grow light: Great for rooms with low natural light

Aim for at least 6 hours of bright light per day. Supplement with a grow light during winter or in shady homes.

Step 3: Use the Right Containers

Choose pots that are:

  • 6–8 inches wide (perfect size for herbs)
  • ✅ Made from ceramic, plastic, or terra cotta
  • ✅ Have drainage holes (this is a must!)
  • ✅ Placed on a tray or saucer to catch water

You can also grow herbs in:

  • Window boxes
  • Hanging planters
  • Mason jars (with pebbles and limited watering)
  • Small raised beds for indoor greenhouses

Step 4: Choose the Best Soil

Use a high-quality potting mix — never garden soil, which is too heavy and can hold too much moisture indoors.

For best results:

  • Choose a mix labeled for indoor plants or vegetables
  • Add a bit of perlite for drainage
  • For rosemary or thyme, mix in a little sand to mimic their native dry conditions

Step 5: Water Correctly (Not Too Much!)

Overwatering is the #1 herb killer indoors. Herbs generally like their soil to dry slightly between waterings.

Watering tips:

  • Stick your finger into the soil — water only if it feels dry about an inch down
  • Water in the morning, so roots absorb moisture during the day
  • Avoid letting herbs sit in soggy soil or standing water
  • Mist occasionally if air is very dry (especially during winter heating season)

Step 6: Harvest Often (and Properly)

Harvesting helps herbs grow bushier and healthier — just don’t go overboard!

How to harvest:

  • Use clean scissors or snip with your fingers
  • Always cut just above a leaf node (where two leaves meet the stem)
  • Don’t remove more than one-third of the plant at a time
  • For fast growers like basil and mint, pinch off the top regularly to prevent flowering

Step 7: Feed Your Herbs — But Sparingly

Indoor herbs do need nutrients, but overfeeding can lead to leggy growth or weak flavor.

Fertilizer tips:

  • Use a balanced, organic liquid fertilizer
  • Dilute to half strength
  • Feed once every 4–6 weeks during spring and summer
  • Skip or reduce feeding in winter, when growth slows

Troubleshooting Common Herb Issues

ProblemCauseFix
Yellow leavesOverwatering or lack of lightLet soil dry; move to brighter spot
Leggy stemsNot enough lightMove closer to window or add grow light
No growthPot-bound roots or poor soilRepot or refresh soil
Mold on soilPoor airflow or too much waterImprove air circulation; water less
Wilting after harvestOverharvesting or shockGive time to recover; water and feed gently

Fresh Herbs, Fresh Joy

Growing herbs indoors gives you a constant supply of fresh flavor, calming scents, and green beauty — all in arm’s reach. With the right spot, some sunlight, and just a little attention, your indoor herb garden can thrive 365 days a year.

So whether you’re cooking dinner, sipping tea, or just admiring the view — your herbs will be right there with you. 🌿🍽️💚

Tips for Starting a Home Herb Garden

Imagine plucking fresh basil for your pasta or mint for your tea — straight from your own home. A home herb garden isn’t just a trendy idea; it’s a practical, satisfying way to bring greenery into your kitchen and flavor into your meals.

Whether you live in a tiny apartment or a house with a sunny patio, you can grow fresh herbs indoors or out with just a few pots and the right care. This guide will walk you through the steps to start a thriving herb garden at home — even if you’ve never planted a seed before.

Why Grow Your Own Herbs?

Homegrown herbs are one of the easiest and most rewarding ways to start gardening. Here’s why:

  • Freshness: Nothing beats the aroma and flavor of herbs harvested minutes before use.
  • Cost-effective: Say goodbye to expensive, wilted herbs from the store.
  • Convenient: Always within arm’s reach for cooking, teas, or even skincare.
  • Space-friendly: You only need a windowsill, balcony, or sunny corner.
  • Beautiful and fragrant: Herbs like rosemary, thyme, and basil also serve as lovely decor.

Step 1: Choose the Right Herbs

Start with herbs that are easy to grow and ones you actually use. Here are some great beginner-friendly options:

🌿 Best Herbs for Beginners:

  • Basil: Loves warmth and sun. Great for pasta, pesto, and salads.
  • Mint: Fast-growing and aromatic. Perfect for teas, desserts, and drinks.
  • Parsley: Biennial, very easy to grow indoors. Great for garnishes and cooking.
  • Thyme: Hardy and flavorful. Ideal for meat dishes and soups.
  • Rosemary: Woody herb that thrives in containers. Great for roasts and breads.
  • Chives: Mild onion flavor. Perfect for eggs, dips, and baked potatoes.
  • Cilantro (Coriander): Quick-growing but short-lived. Essential in Latin and Asian cuisine.
  • Oregano: Spreads easily and adds punch to sauces and pizza.

Tip: Start with 3–5 herbs to keep it manageable, especially indoors.

Step 2: Decide Where to Plant

You can grow herbs indoors, outdoors, or a bit of both.

🌞 Ideal conditions:

  • At least 4–6 hours of sunlight per day (south-facing windows are best)
  • Good air circulation (but avoid cold drafts)
  • Temperatures between 60°F and 75°F (15°C to 24°C)

If you don’t have natural light, grow lights work beautifully — even for a countertop garden.

Step 3: Choose the Right Containers

Herbs do well in a variety of containers as long as they have drainage holes.

Best containers:

  • Clay or terracotta pots (breathable and natural)
  • Ceramic planters
  • Window boxes for multiple herbs
  • Hanging planters for trailing herbs like oregano
  • Mason jars (with pebbles at the bottom for drainage)

Pro Tip: Label each herb with chalk sticks or cute markers so you always know what’s what!

Step 4: Use the Right Soil

Herbs prefer light, well-draining soil. Regular garden soil can be too heavy, especially in containers.

Best soil mix:

  • A high-quality potting mix with added perlite or vermiculite for drainage
  • You can also buy mixes labeled specifically for indoor herbs or vegetables

Step 5: Water with Care

Overwatering is a common mistake — especially for indoor herbs.

Watering tips:

  • Water when the top inch of soil feels dry
  • Avoid soggy soil — most herbs dislike “wet feet”
  • Basil, parsley, and cilantro like more moisture
  • Rosemary, thyme, and oregano prefer drier soil

Morning watering is ideal to avoid fungal issues and let the soil dry during the day.

Step 6: Harvest Properly

Harvesting herbs the right way encourages growth and prevents legginess.

How to harvest:

  • Snip herbs with sharp scissors or pruners
  • Always cut just above a set of leaves (not at the base)
  • Never harvest more than one-third of the plant at a time
  • Regular harvesting makes herbs fuller and bushier

Use what you trim right away — or dry/freeze for later!

Step 7: Feed Gently

Herbs don’t need much fertilizer, but occasional feeding helps, especially in containers.

  • Use a liquid organic fertilizer every 4–6 weeks
  • Dilute to half strength to avoid burning the roots
  • Avoid overfeeding — herbs taste better when they aren’t over-fertilized

Herb Garden Styling Ideas

Make your herb garden a beautiful part of your home, not just a functional one!

  • Use matching pots in a color scheme that suits your kitchen
  • Hang herbs on a wall-mounted rack or rail system
  • Arrange herbs in a tiered stand by a sunny window
  • Paint or decorate your own terracotta pots
  • Combine with small decor like candles, cutting boards, or vintage tins

Troubleshooting: Common Herb Problems

IssueCauseFix
Yellow leavesOverwatering or poor drainageLet soil dry, check drainage holes
Leggy stemsNot enough sunlightMove to a sunnier spot or use grow lights
Leaf spots or mildewToo much humidity or poor airflowSpace plants out and water in the morning
Weak flavorOver-fertilizingReduce feeding and let herbs stress slightly for better taste

Grow Flavor, Grow Joy

Starting a home herb garden is one of the easiest ways to bring life, beauty, and flavor into your home. With a little sun, care, and patience, you’ll be seasoning your meals with herbs you grew yourself — and there’s nothing more satisfying than that.

Whether you’re placing pots on a kitchen windowsill or building a dedicated herb shelf, your home garden will grow right along with your cooking skills.

Top 5 Plants That Naturally Repel Insects

Few things are as annoying as dealing with unwanted insects while trying to relax at home or in the garden. These little visitors can turn a peaceful moment into a frustrating experience, especially during warmer seasons when their presence tends to increase. Although there are many chemical products on the market to keep them away, not all are safe for the environment or for the health of humans and animals.

The good news is that nature offers incredible solutions to control insects in a natural, effective, and sustainable way. Some plants have repellent properties that not only keep mosquitoes, flies, and other pesky insects at bay but also add beauty and fragrance to your space.

In this article, we’ll explore the top five plants known for their ability to naturally repel insects. In addition to learning about their characteristics, you’ll discover how to cultivate, maintain, and use them to transform your environment into an insect-free sanctuary. Ready to adopt natural solutions and enjoy a functional and charming garden? Let’s begin!

1. Citronella: The Champion Against Mosquitoes

Citronella is undoubtedly one of the most popular plants when it comes to repelling mosquitoes. Its characteristic aroma, derived from essential oils in its leaves, is highly effective at keeping these insects at bay. No wonder citronella is often used as the main ingredient in candles, sprays, and natural repellents.

Benefits and Characteristics

  • Powerful Aroma: The strong citrus scent of citronella is unpleasant to mosquitoes but pleasing to most people.
  • Versatile Use: In addition to being grown directly in the ground or in pots, its leaves can be used to make oils or infusions for repellents.

How to Plant and Care

  • Location: Plant in sunny spots as citronella needs direct light to grow healthily.
  • Soil: Prefers well-drained soil rich in organic matter.
  • Watering: Keep the soil moist but avoid waterlogging.

Tips for Use

  • Place citronella pots near resting areas, such as patios or decks.
  • Gently rub the leaves to release the essential oils and intensify their repellent effect.

With its combination of effectiveness and ease of cultivation, citronella is a must-have for anyone looking for natural solutions against mosquitoes.

2. Lavender: Beauty and Protection with a Relaxing Aroma

Lavender is a plant that combines functionality and aesthetics, widely known for its relaxing aroma and repellent properties. While its scent delights humans, it is highly unpleasant to many insects, including mosquitoes, moths, and aphids.

Benefits and Characteristics

  • Calming Aroma: In addition to repelling insects, lavender promotes relaxation, making it ideal for rest areas.
  • Elegant Appearance: Its purple flowers and fine leaves make it an excellent decorative choice for gardens and interiors.

How to Plant and Care

  • Location: Prefers sunny spots with good air circulation.
  • Soil: Light, well-drained soil is ideal for healthy lavender growth.
  • Watering: Water moderately, avoiding excess moisture, as the plant doesn’t tolerate soggy soil.

Tips for Use

  • Plant lavender along pathways or as borders to create a natural barrier against insects.
  • Use its dried flowers to make sachets or essential oils, which can be placed in closets and drawers.
  • Decorate indoor spaces with small lavender pots to keep the environment fragrant and pest-free.

With its charming appearance and versatile properties, lavender is a perfect choice for those seeking practicality and sophistication in natural insect control.

3. Basil: More Than Just a Powerful Herb

Basil, in addition to being a widely used culinary herb, is also a powerful ally in repelling insects, especially mosquitoes and flies. Its strong aroma is an effective natural repellent that can be utilized both in the garden and indoors.

Benefits and Characteristics

  • Repellent for Flies and Mosquitoes: The scent of basil keeps these insects away, especially when the plant is placed near entrances.
  • Easy to Grow: A fast-growing plant, ideal for beginner gardeners.
  • Culinary and Functional Use: In addition to repelling insects, its leaves can be used in various recipes, adding flavor to dishes.

How to Plant and Care

  • Location: Plant in areas that receive at least six hours of sunlight daily.
  • Soil: Prefers fertile, well-drained, and slightly moist soil.
  • Watering: Water regularly, but avoid overwatering.

Tips for Use

  • Place basil pots on windowsills or near doors to prevent flies and mosquitoes from entering.
  • Use its fresh leaves in homemade repellents by combining them with essential oils.
  • Grow basil in vertical gardens or small planters to save space.

Versatile and functional, basil is an excellent choice for those seeking practicality and efficiency in insect control while enjoying a useful and flavorful plant.

4. Mint: Refreshing and Insect-Repelling

Mint is known for its refreshing aroma and repellent properties, making it an effective choice for keeping ants, aphids, mosquitoes, and even rodents away. Additionally, it’s an easy-to-grow plant that’s highly versatile, usable for insect control, culinary recipes, and beverages.

Benefits and Characteristics

  • Multifunctional Repellent: The strong scent of mint is unpleasant to many common insects and pests.
  • Broad Use: Its leaves can be used to make teas, seasonings, and natural insect solutions.
  • Low Maintenance: Mint grows quickly and adapts well to different environments.

How to Plant and Care

  • Location: Prefers partial shade but can grow under direct sunlight in cooler regions.
  • Soil: Moist, well-drained soil is ideal for mint.
  • Watering: Keep the soil slightly moist at all times, avoiding dryness.

Tips for Use

  • Grow mint in pots to control its spread, as it tends to grow rapidly.
  • Rub fresh leaves on affected areas to release their repellent aroma.
  • Use dried or fresh sprigs in sachets to keep pests away from cabinets and pantries.

With its characteristic freshness and effectiveness against pests, mint is a valuable addition to any garden or indoor space needing natural protection.

5. Rosemary: An Aromatic and Natural Ally

Rosemary is a versatile and extremely useful plant, both in cooking and in pest control. Its distinctive aroma keeps mosquitoes and other insects away while adding a visual touch to gardens with its greenish-gray leaves.

Benefits and Characteristics

  • Repellent for Mosquitoes and Flying Insects: The scent of rosemary is unpleasant to many common insects.
  • Durability: A perennial plant that remains active year-round.
  • Culinary and Medicinal Use: Its leaves are widely used to season foods and prepare therapeutic teas.

How to Plant and Care

  • Location: Prefers sunny and airy areas.
  • Soil: Sandy, well-drained soil is ideal for healthy growth.
  • Watering: Water moderately, as rosemary is drought-resistant.

Tips for Use

  • Plant near outdoor living areas to create a natural insect barrier.
  • Use fresh leaves for infusions or as a natural repellent by rubbing them on the skin.
  • Decorate outdoor dining tables with small rosemary pots to keep insects away while adding charm to the setting.

Combining functionality and beauty, rosemary is an excellent choice for gardens and indoor spaces seeking natural protection and practicality.

Choose Natural and Protect What Matters

Opting for plants that naturally repel insects is a conscious choice that benefits not only the environment but also the health of your family and pets. Instead of resorting to chemical products, which can harm nature and pose health risks, plants offer a sustainable, safe, and aesthetically pleasing solution.

By incorporating plants such as citronella, lavender, basil, mint, and rosemary into your garden or indoor space, you create a harmonious environment that combines functionality and beauty. These plants are also easy to grow, adding a touch of greenery and fragrance to your daily life while keeping insects at bay.

Adopting these natural solutions is not only a way to protect your space from pests but also an opportunity to foster a closer connection with nature. Every plant grown is a step toward a healthier and more sustainable lifestyle.

So start planning your garden or green area with these amazing plants today. Transform your space into an insect-free sanctuary, valuing the natural and protecting what matters most: the well-being of everyone around you.