Create a Plant Care Routine That Fits Your Lifestyle

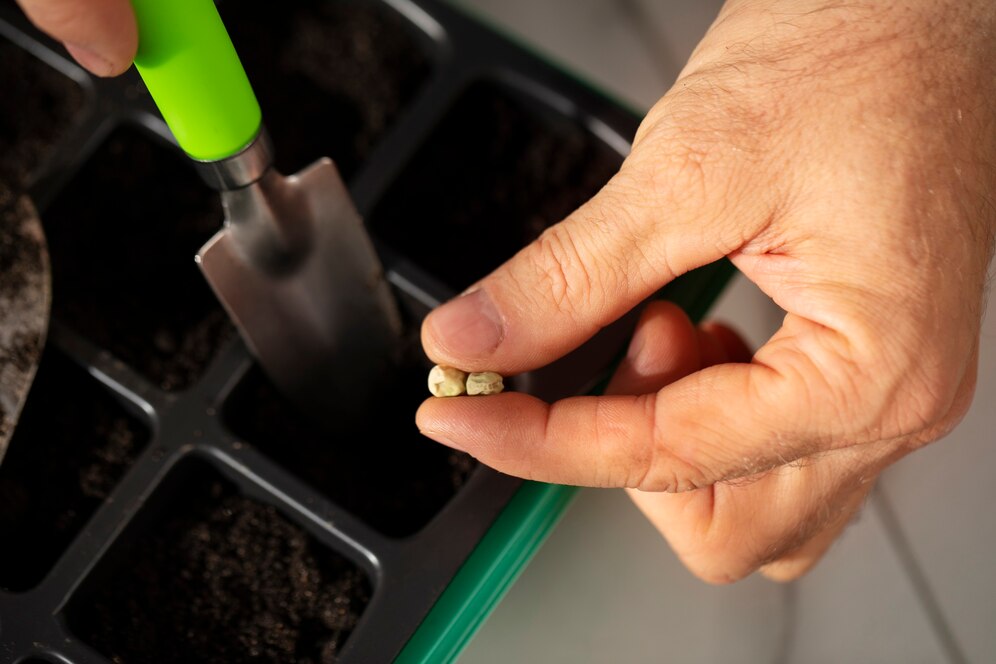
If you’ve ever forgotten to water a fern for two weeks—or watered a succulent three days in a row—you’re not alone. Caring for plants should be joyful, not stressful. The secret? A routine that’s realistic, flexible, and tailored to your lifestyle. In this guide, we’ll help you build a custom plant care routine that makes … Ler mais